
The Complete Guide to Bridal Eye Makeup for Every Eye Shape and Season


Sitting in the trial chair, everything looks crisp in the ring light. Five hours later, under outdoor afternoon sun or a reception flash, the crease has folded, the inner corner of the strip lash has lifted, and the shimmer has migrated onto the cheek. Most wedding makeup regrets start around the eyes.
Getting your bridal eye makeup right comes down to three choices before you ever pick a palette: your eye shape, your venue lighting, and how you layer waterproof formulas. This guide walks you through choosing the best finish for your features, picking lashes that survive happy tears, timing your trial, and keeping sensitive eyes comfortable through the last dance.
How to Choose Bridal Eye Makeup for Your Eye Shape and Venue Light
Start with your eyelid anatomy before scrolling saved photos. Across the 49,000 bridal beauty search terms I analyzed while building BridalHue, hooded-eye adjustments and brown-eye pairings sit near the top of what brides look up right before a trial. A cut crease built for deep, open lid space disappears the second a hooded lid relaxes.
Venue lighting matters just as much as shape. Bright outdoor daylight exposes heavy black liner and chunky glitter, while dim evening candlelight swallows ultra-sheer washes. Aim for satin or finely milled shimmer on the center of the lid so the eye catches light without looking chalky under camera flash.
Place a matte transition shade slightly above your natural crease while looking straight ahead, keep liner razor thin, and lift the outer corner with individual lash clusters.
Soft diffused smoke, satin champagne halo lids, and classic winged liner all stay visible with your eyes open and hold crisp definition in wide ceremony shots.
Swap jet-black gel liner for espresso brown or soft charcoal, and pick finely milled satin shadows over coarse glitter so sunbeams flatter skin texture.
Test your chosen eye shape placement with your chin level and your eyes fully relaxed. If the transition shade vanishes when you look straight into the mirror, blend it two millimeters higher toward the brow bone so it still reads in ceremony photos.
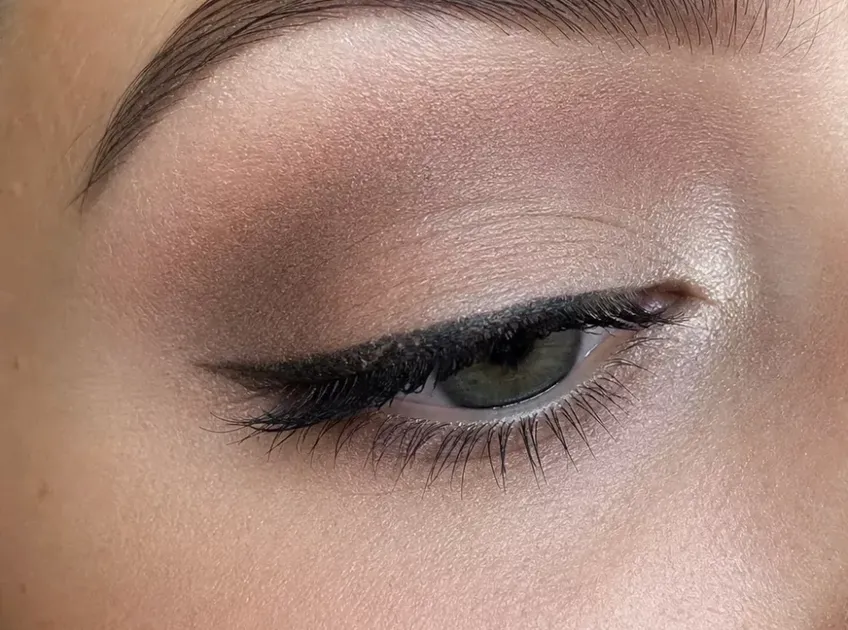
Matching Bride Eye Makeup Shades to Your Eye Color and Skin Undertone
Color theory makes shade selection fast. Instead of chasing a single generic “nude” lid, build around your skin tone nude as the base, then pick lid shimmer and crease depth that complement both your iris color and your undertone (cool, warm, neutral, or olive).
Brown eyes carry rich depth that pairs smoothly with bronze, warm gold, plum noir, and copper accents. Blue eyes brighten against warm peach, terracotta, and champagne tones, while green and hazel eyes stand out beside soft rose gold, mauve, and muted plum. If you want detailed shade breakdowns for your specific iris color, browse the wedding makeup by eye color hub before locking in a palette.
| Warm and Olive Undertones | Cool and Neutral Undertones |
|---|---|
| Lid shimmer: warm champagne, honey gold, bronze, copper. | Lid shimmer: soft pearl, rose quartz, iced taupe, frosted silver. |
| Crease depth: warm camel, cinnamon brown, rich espresso. | Crease depth: cool taupe, dusty rose, muted plum noir. |
| Jewelry match: yellow gold, antique kundan, warm pearl drops. | Jewelry match: platinum, white gold, silver crystals, bright pearls. |
Match your lid shimmer to your bridal jewelry metal whenever you feel stuck between gold and silver. Yellow gold earrings and warm ivory fabric pull naturally toward champagne and bronze, while platinum settings and cool white satin look cohesive with pearl or soft frosted silver accents.
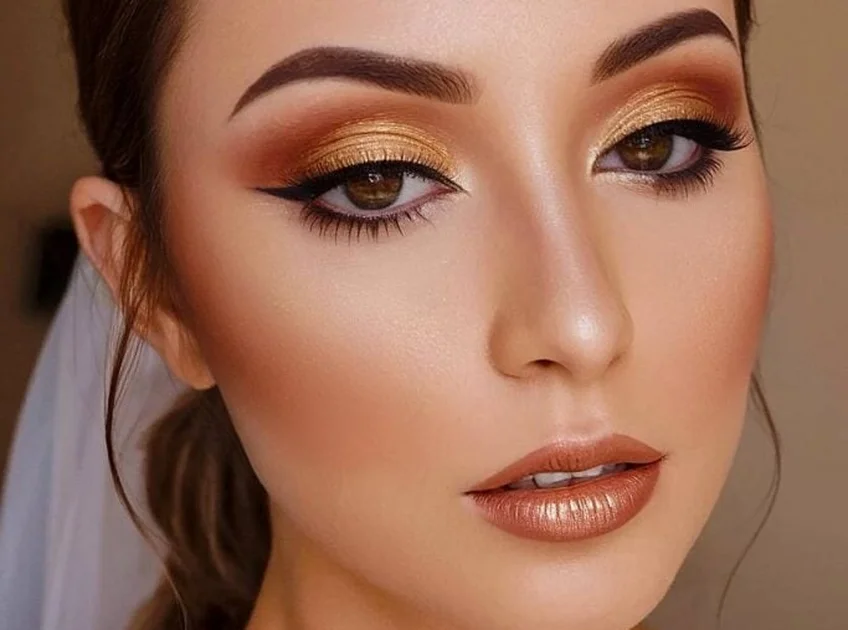
Soft Glam, Natural, and South Asian Wedding Makeup Eyes Compared
Three distinct styles cover almost every wedding mood. Natural bridal eyes stick to translucent satin washes, tightlined brown lashes, and zero heavy contour so you look like yourself on a well-rested morning. Soft glam adds a sculpted matte outer V, a bright satin center lid, and feathered lashes that read clearly in both outdoor portraits and evening flash.
South Asian bridal events often span multiple days, letting you shift intensity across the mehndi, nikkah, baraat, and walima. Brighter bronze or cut-crease shimmer stands up to heavy kundan jewelry and embroidered lehengas during a baraat, while softer muted rose or frosted champagne fits a daytime nikkah. If you plan to line your waterline with kohl or kajal, review the FDA warning on imported kohl and kajal and stick to regulated, lead-free gel pencils sold by established US retailers.
Brides leaning into modern editorial trends can also borrow a light touch of silver eyeliner or frosted pearl at the inner corner. Keep the rest of the lid matte so one metallic accent feels deliberate rather than busy.

Some links in this post are affiliate links. If you buy through them, BridalHue may earn a small commission at no extra cost to you.
The Three Layer Eye Rule for Tear-Proof Hold
Longevity is built in thin layers, not thick coats. Heavy concealer used as an eyeshadow base tends to separate once eyelid oils warm up during cocktail hour. Instead, use a dedicated gripping eye primer, set only the crease with a whisper of translucent powder, and sandwich a cream shadow beneath your matching powder shimmer.
Lock the lashes with a true waterproof mascara rather than a tubing or washable formula. Drugstore workhorses like Maybelline Lash Sensational Waterproof (about $8.99 to $11.99 at Target) or L’Oreal Paris Voluminous Lash Paradise Waterproof ($10.99 at Target) hold a curl through vows and outdoor humidity. Finish the entire face with a waterproof setting mist such as Urban Decay All Nighter Waterproof Makeup Setting Spray ($18.00 for the travel size up to $51.00 for larger bottles at Ulta Beauty) or Milani Make It Last Original Natural Finish Setting Spray ($13.99 to $21.49 at Ulta Beauty).
Grip first: tap a rice-grain amount of dedicated eye primer across clean, oil-free lids and wait 30 seconds.
Sandwich pigment: lay down a thin cream shadow or gel pencil, then press matching powder shadow directly on top.
Seal the edge: coat lashes in waterproof mascara and mist a waterproof setting spray after lashes dry.
Blot tears by pressing a clean tissue gently at the outer corner rather than wiping across the lower lash line. Pressing absorbs moisture without dragging your concealer or disturbing your under-eye powder.
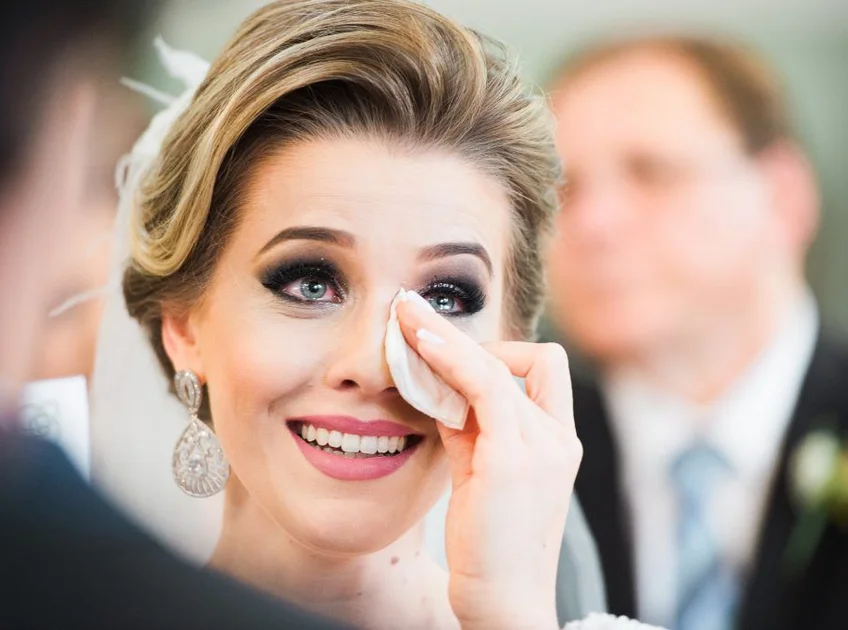
False Lashes, Clusters, and Glue: What Holds Through Happy Tears
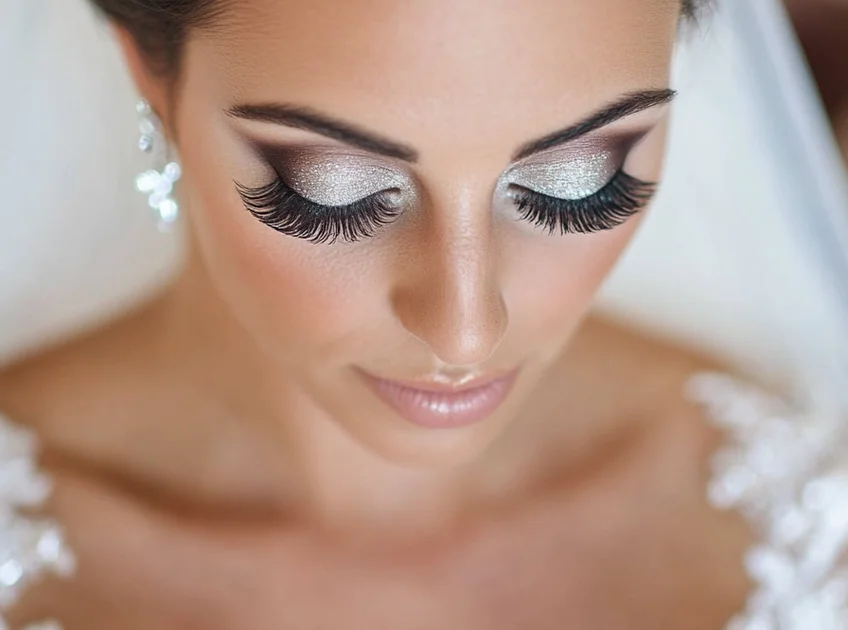
False lashes do more for ceremony photos than any eyeshadow palette because camera lenses flatten natural lash volume from ten feet away. You do not have to wear heavy drama strips to get definition. Individual clusters placed along the outer half of the eye open the gaze without feeling stiff or lifting at the tear duct.
Individual options like Ardell Naked Lash Clusters or Fauxmink Delicates Clusters run about $11.99 to $13.99 at Ulta Beauty, while full bands like Ardell Naked Delicates Striplashes sit around $11.99 to $15.99 at Ulta Beauty. Pair either style with a latex-free brush-on adhesive like DUO Lash Adhesive ($5.29 to $9.99 at Target) and wait until the glue turns tacky before pressing it along the lash roots. Because fragrances and preservatives in cosmetics are common triggers for eyelid irritation, check MedlinePlus guidance on cosmetic allergies before testing a new adhesive.
Patch test any new lash glue, hair dye, henna, or skincare product on your inner arm at least 48 hours before the full application, and skip anything sold as black henna.
Choose individual knot-free lash clusters placed from the center to the outer corner. Zero rigid band near the inner tear duct means far less lifting.
A trimmed, clear-band strip lash speeds up application and creates a uniform lash line that balances winged liner cleanly.
Always measure a strip lash against your bare eye and trim the excess from the outer edge before applying glue. A band that sits even two millimeters too close to your inner corner will poke your lid every time you blink.
What to Bring to Your Trial and When to Book
Booking your makeup trial two to three months before the wedding gives you room to adjust colors, test lash comfort, and schedule a second tweak four to six weeks out if anything shifts. Wear a white or ivory top that mirrors your dress neckline, and bring photos of your bouquet and earrings so your artist sees the exact color temperature sitting near your face.
Do not judge the eyes solely under studio lighting. At a trial I sat through, the champagne lid looked soft in the mirror, yet five hours later under an afternoon window and a quick phone flash test, the translucent under-eye powder cast a faint white ring. Wearing your trial makeup through dinner tells you far more than a fifteen-minute chair check.
🗓️ Your bridal eye prep countdown
The timing windows most brides use. Shift earlier if your wedding falls during peak fall or June weekends.
Makeup trial. Test your eye shape placement, lash style, and wear time in both daylight and phone flash.
Second trial or DIY practice. Lock in any shade changes and stop introducing untested eye creams.
Brow shaping and tint. Gives any mild redness plenty of time to calm down before wedding photos.
Lash extensions, if booked. Allows adhesive fumes to clear and lets you check symmetry before the weekend.
Bring two inspiration photos of brides who share your eye shape and hair color, plus one photo of what you dislike. Artists can read your comfort level far faster when they see both your ceiling for drama and your baseline.
Day-Of Eye Prep, Sensitive Eyes, and Contact Lens Safety
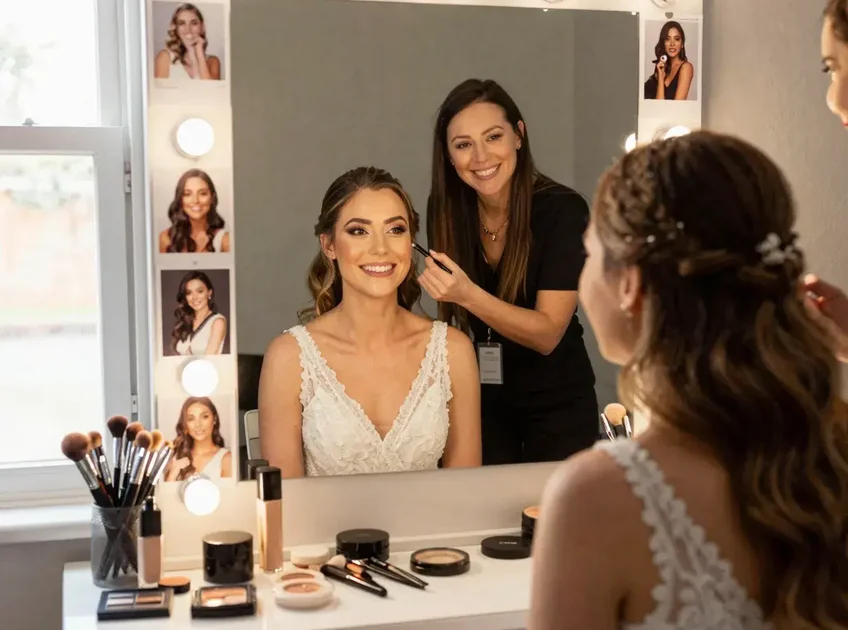
Red, itchy eyes ruin a ceremony faster than creased shadow. If you wear contact lenses, put them in before any moisturizer, primer, or mascara touches your lids, and keep loose cosmetic glitter away from your eye area so particles cannot scratch your cornea.
Follow the American Academy of Ophthalmology eye makeup safety tips when packing your wedding kit: replace liquid or cream mascara and liner every three months, keep eyeliner outside the lash line rather than directly on the inner waterline oil glands, and never share brushes or wands with bridesmaids on the wedding morning.
Insert contact lenses with clean, dry hands before starting eye prep.
Press liner gently along the outer lash roots and choose satin shadows over loose craft-style shimmer.
Sharing mascara wands or eyeliners across the bridal suite.
Sleeping in waterproof mascara; soak a cotton pad in gentle oil-free eye remover and hold it over closed lids for ten seconds before wiping.
Pack preservative-free lubricating eye drops and two pointed cotton swabs in your day-of bag. A dry swab clears a stray mascara flake cleanly once it dries, whereas wiping wet mascara smears dark pigment straight into your concealer.

Step-by-Step DIY Eye Makeup for Weddings at Home
Doing your own eye makeup for weddings is completely realistic if you practice the full sequence twice in daylight before the wedding week. Work in thin, buildable passes and finish the eyes before applying foundation so any stray shadow fallout wipes away cleanly with micellar water.
You can mix drugstore waterproof basics with one or two prestige staples where texture matters most, such as Laura Mercier Translucent Loose Setting Powder ($43.00 at Ulta Beauty) for soft under-eye setting and Charlotte Tilbury Airbrush Flawless Hydrating and Waterproof Setting Spray ($25.00 to $59.00 at Ulta Beauty) to melt powder into skin.
💄 The DIY bridal eye look, step by step
Product classes only. Pick each shade depth for your own skin tone and undertone.
Step 1: Prime and Set
Gripping eye primer, then a light dust of powder in the crease
Why: dry powder in the crease stops transition shades from sticking in patches.
Step 2: Sculpt and Brighten
Matte transition shade, deeper outer V, satin shimmer tapped on center lid
Why: tapping shimmer with a flat brush or fingertip keeps fallout off your cheeks.
Step 3: Line and Smudge
Waterproof brown or charcoal gel pencil softened with a tiny angled brush
Why: a slightly diffused lash line hides minor hand shakes and photographs softly.
Step 4: Curl, Mascara, Clusters
Eyelash curler, one thin coat waterproof mascara, then outer-corner clusters
Why: curling before mascara keeps lashes lifted without crimping dried formula.
Set a timer during your second practice run so you know your exact pace. Giving yourself an extra twenty minutes on the wedding morning removes the rush that leads to crooked wings or wet lash glue.
Five Bridal Makeup Eyes Mistakes and How to Fix Them
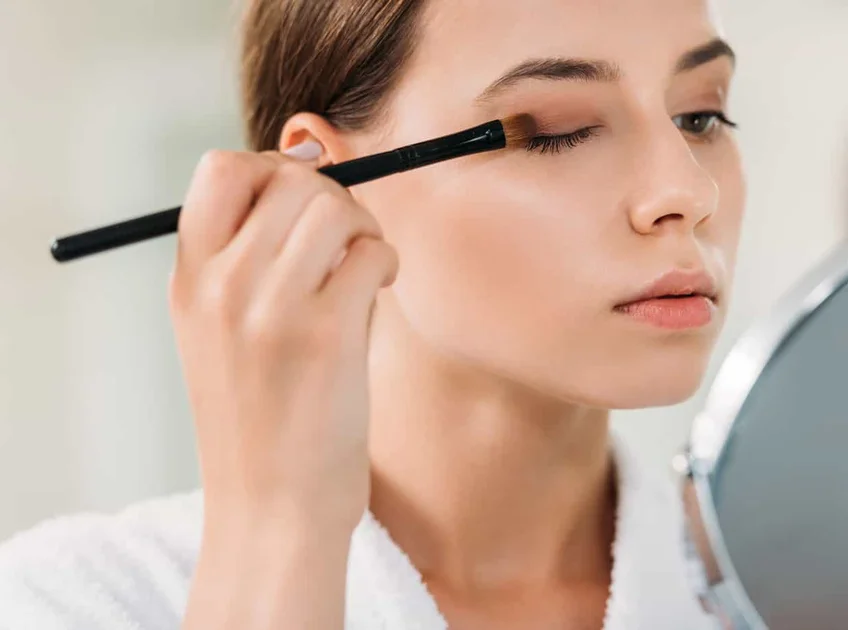
Even strong palettes fall flat when a few common prep habits get skipped. Watch out for thick eye cream applied right before primer, which makes shadow slip within an hour. Keep rich under-eye creams for the night before and tap only a light gel hydrator under the lower lashes on the wedding morning.
- Blending shimmer too high into the crease reflects camera flash off fine lines; keep shimmer below the fold and matte tones above.
- Skipping a curl on straight lashes leaves false clusters sitting at a different angle than your natural lashes.
- Heavy black liner on the lower waterline shrinks smaller eyes; smudge a soft warm brown shadow beneath the lower lashes instead.
- Waiting until the venue to check your look in flash light hides chalky setting powder until portraits start.
If a crease develops mid-reception, never pile fresh powder on top of creased product. Tap the fold gently with a clean ring finger to smooth the pigment back out, then press a tiny bit of translucent powder over the smoothed lid.
Bridal Eye Makeup Questions Answered
Which eye makeup is best for a bride?
Soft glam or natural satin eyes work well for most brides because they add definition for professional cameras without feeling heavy in person. Pair a matte crease shade slightly deeper than your skin tone with a finely milled champagne, rose, or bronze lid shimmer, thin brown or black liner, and feathered lashes.
What eye makeup lasts through crying?
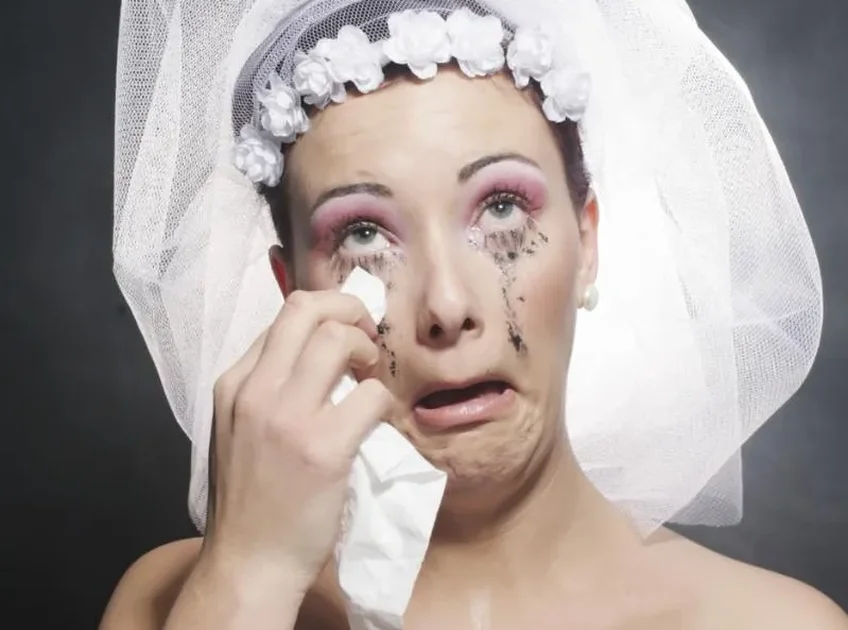
Waterproof mascara, waterproof gel eyeliner, a gripping eye primer, and a waterproof setting spray create the strongest defense against tears. Skip heavy water-soluble liquid liners along the inner corner, and always blot tears gently with a tissue rather than wiping across the lower lash line.
Should a bride wear false lashes?
False lashes are optional, though most brides add at least a few individual clusters on the outer corners so their eyes stay defined in wide-angle ceremony photos. If full strip lashes feel heavy or irritate your tear ducts, three or four knot-free clusters per eye look natural and weigh almost nothing.
Gold or silver eyeshadow for a bride?
Match your shimmer to your skin undertone and jewelry metal. Warm and olive undertones paired with yellow gold or kundan jewelry glow in champagne, warm gold, and bronze. Cool undertones paired with platinum, white gold, or silver accessories look balanced in pearl, iced taupe, or soft frosted silver.
How do you apply bridal eye makeup for hooded eyes so shadow stays visible?
Look straight ahead into the mirror with relaxed brows and place your matte transition shade slightly above your natural crease fold so it remains visible when your eyes are open. Keep eyeliner thin along the lash roots to preserve lid space, and focus lash length on the outer third.
How do you keep shimmer eye makeup safe for sensitive eyes or contact lenses?
Put contact lenses in before applying any products, choose finely milled pressed satin shadows instead of loose glitter, and keep eyeliner outside the lash line rather than on the inner waterline. Replace liquid mascara and liners every three months and patch test lash glue at least 48 hours ahead.
Building a Look You Still Recognize in Photos
Strong bridal eye makeup works with your real eye shape, your venue light, and your comfort level rather than fighting them. Pick one finish that matches your jewelry and undertone, layer primer and waterproof formulas in thin passes, and wear your trial look through an entire afternoon before signing off.
Keep this guide handy as you pull inspiration for your trial and save it to your Bridal Makeup Looks board so your countdown, lash checklist, and layering rule stay one tap away.
💡 Quick Tip
Take two phone photos at the end of your trial: one facing a bright window and one in a dim room with flash on. Those two shots catch flashback and crease gaps better than any mirror.